The following section illustrates how to use the mass update feature to add multiple line-items at once within a request.
In this example we will:
-
Use the OneStream spreadsheet to add multiple line items
-
Import a XSLX or XSLM Excel file and append or replace request items
-
Test the validations that run within the spreadsheet
-
Edit individual line items that were added using Mass Update
-
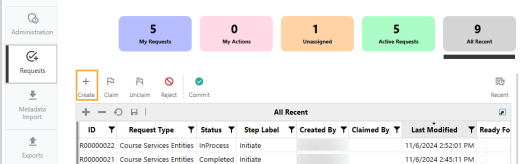
Go to the Requests page and select Create to start a new request.
-
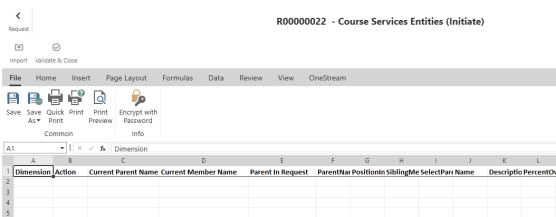
Click Mass Update to generate a dynamic spreadsheet. Each spreadsheet populates with three to five fixed columns, depending on the request type. These columns may include: Dimension, Action, Current Parent Name, Current Member Name, and Parent In Request. The other headers reflect the properties assigned in the layout(s) assigned to your request.
-
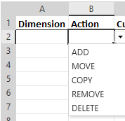
Use the drop-down menus in the Action, Dimension, and Parent In Request columns to fill those cells.
-
Information can be entered into each cell manually, or users can utilize Excel functions such as copy and paste and drag-down to fill spreadsheet rows.

-
To import a file into your Mass Update spreadsheet, first ensure your Excel file is in XSLX or XSLM format and meets the following standards for import:
-
Header property names within your file must match the Property Names as you see them when you generate the Mass Update spreadsheet.
TIP: Generate a Mass Update spreadsheet in your application and click Save As to download the template onto your local file.
-
The Excel file should consist of at least one tab titled Line Items.
IMPORTANT: Additional tabs will not import into the Mass Update section. Any additional tabs will not be reflected in your spreadsheet after import.
-
-
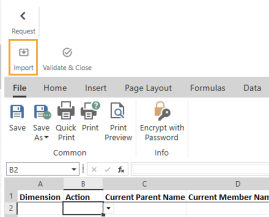
While in the Mass Update spreadsheet window, click Import and select your file from the file explorer.
-
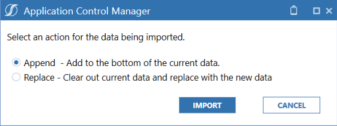
If data already exists within your Mass Update spreadsheet, a dialog window will prompt for your selection:
-
Select Append to proceed.
-
Now that your file has imported, click Save to save the newly entered line-items within the spreadsheet.
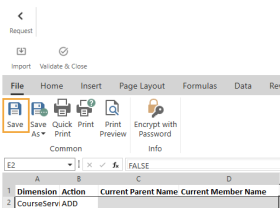
NOTE: This does not apply spreadsheet changes to the Line Item table within the open request, this only saves the changes to the spreadsheet itself.
Once the line items have been entered manually, copied, or imported into the application spreadsheet, click Validate and Close.

-
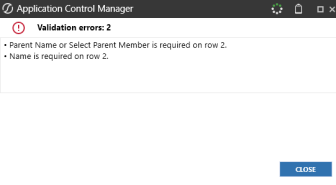
If there are any errors, the changes will not be processed and a dialog box like the one below will open.
-
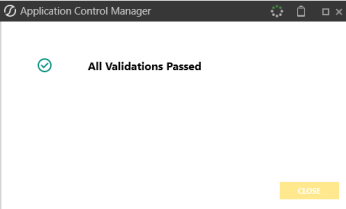
Once the errors have been resolved, click Validate and Close again. You will see this dialog box.
-
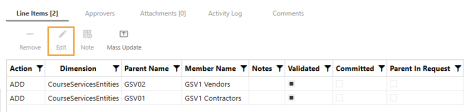
Now that we have used our spreadsheet to add the necessary line items, we can modify or remove individual items. Select a line item and click Edit to view the item's properties.
-
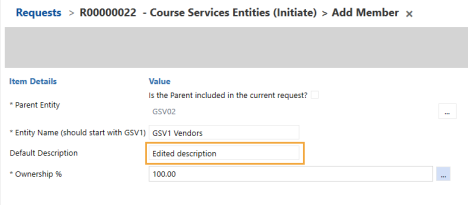
Here we can see that the information from our spreadsheet is filled into the required fields. Edit the item details using the application page as normal and click Save.
-
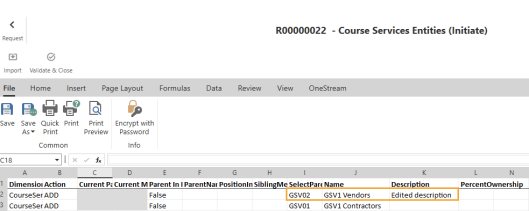
On the Request page, select Mass Update to generate a spreadsheet with the request line-items listed out and the changes made should now be reflected in the spreadsheet as well.
-
Once you're satisfied with the changes made to your line items, click Submit to push the request to the next step.


